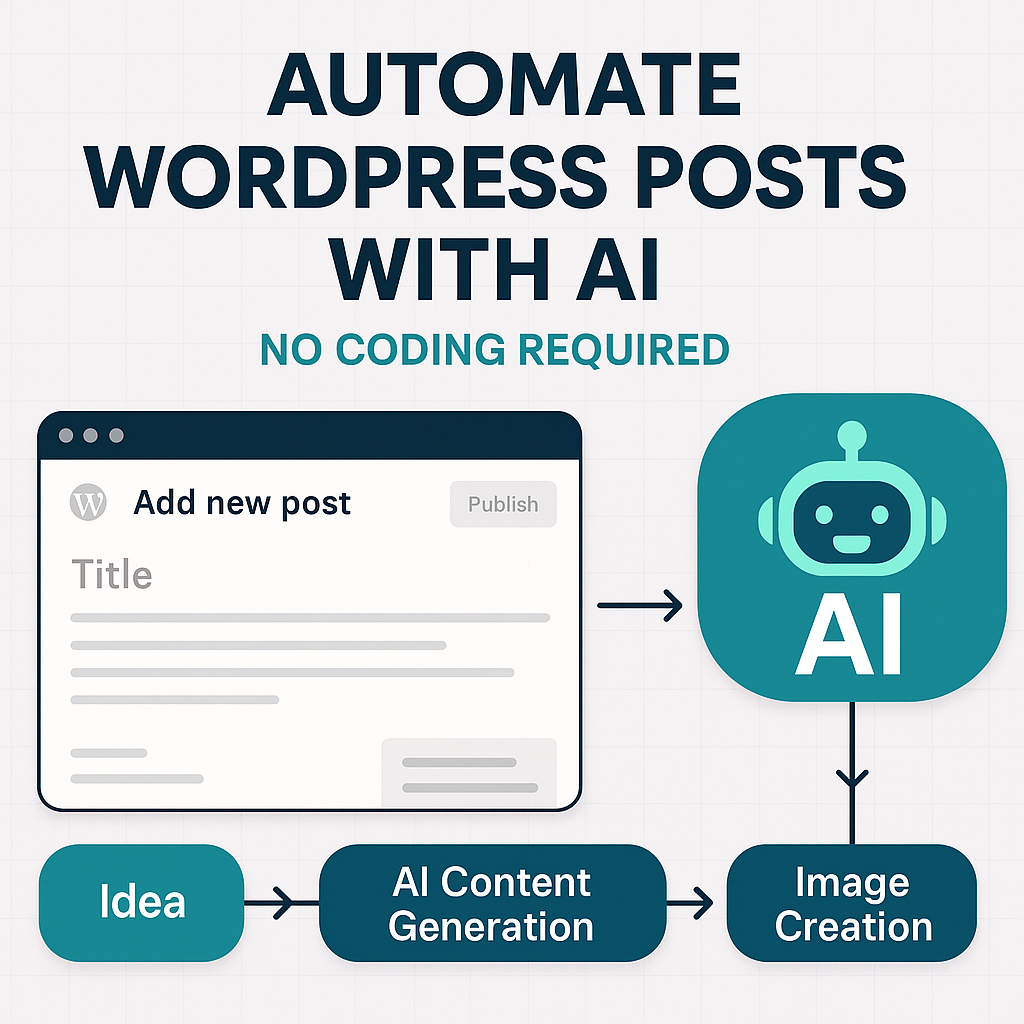
AI-powered content automation is transforming how bloggers and content creators manage their workflows. By 2025, over 75% of companies use workflow automation software to streamline tasks, and WordPress users are increasingly adopting no-code AI tools to generate, optimize, and publish content efficiently . Automating blog posts with AI not only saves time but also ensures consistency, reduces manual effort, and allows creators to focus on strategy and engagement.
Whether you’re a solo blogger or managing a content-heavy site, this step-by-step guide will help you set up a fully automated WordPress blog post system using AI—without writing a single line of code.
Tools You’ll Need
To automate blog posts with AI, you’ll need the following tools:
- WordPress: Your content management system.
- AI Content Generator: OpenAI’s ChatGPT or similar tools for generating text.
- Automation Platform: Make.com, Uncanny Automator, or Bit Flows to connect workflows.
- Spreadsheet Software: Google Sheets to trigger workflows.
- Optional: AI image tools like DALL-E for generating featured images .
Step 1: Set Up Your Trigger System
Use Google Sheets as Your Trigger
- Create a Google Sheet with a column for URLs or topics. Each new entry will trigger the automation workflow.
- Add optional columns for categories, tags, or target keywords to guide the AI’s content generation .
Step 2: Configure the Automation Workflow
Using Make.com or Uncanny Automator
- Create a new scenario in Make.com or a recipe in Uncanny Automator.
- Set up a trigger:
- In Make.com, use the Google Sheets module to “Watch Rows” for new entries.
- In Uncanny Automator, use the “Run now” trigger to manually start the process or link it to form submissions .
- Add an AI action:
Step 3: Generate Content with AI
Craft Effective Prompts
- Specify tone and structure: Example: *“Write a 1,000-word blog post in a friendly, informative tone about [topic]. Include headings, subheadings, and bullet points.”*
- Incorporate SEO keywords: Ask the AI to include specific keywords naturally throughout the content.
- Generate multiple elements: Use separate prompts for titles, meta descriptions, and excerpts to ensure quality .
Example Prompt Structure
System Message: "You are a professional blogger writing about digital marketing."
Prompt: "Generate a blog post titled 'How AI Transforms Content Marketing' with an introduction, 3 main sections, and a conclusion. Use the keyword 'AI content automation' at least 5 times."
Step 4: Create Featured Images with AI
Automate Image Generation
- Add an image generation action in your workflow using tools like DALL-E or Fal.ai.
- Use a prompt like: “Create a minimalist featured image for a blog post about AI and content creation.”
- Save the image URL and pass it to WordPress as the featured image .
Step 5: Publish to WordPress
Configure WordPress Integration
- Use the WordPress module in your automation platform to create a new post.
- Map fields:
- Title → AI-generated title.
- Content → AI-generated body.
- Featured Image → AI-generated image URL.
- Excerpt → AI-generated summary.
- Set status as “Draft” for review or “Publish” for immediate posting .
Step 6: Automate Social Media Sharing
Extend Automation to Promotion
- Add actions to share published posts on social media platforms like Twitter, LinkedIn, or Facebook.
- Use AI to generate social media captions by summarizing the blog post or creating engaging snippets .
Advanced Tips for Optimization
- Refine Prompts Iteratively: Test and adjust prompts based on the quality of output. Include examples of desired style or structure.
- Add Human Oversight: Always review AI-generated content for accuracy and brand voice before publishing.
- Schedule Posts: Use automation tools to schedule posts for optimal times.
- Leverage Templates: Save successful workflows as templates for future use .
Common Issues and Solutions
- AI Hallucinations: Fact-check generated content, especially for technical topics.
- Formatting Errors: Use clear prompts to specify formatting (e.g., headings, bullet points).
- API Limits: Monitor usage costs and set limits to avoid overages .
Conclusion
Automating WordPress blog posts with AI is no longer a futuristic concept but a practical solution for content creators. By leveraging tools like Make.com, Uncanny Automator, and OpenAI, you can save hours per week, maintain consistency, and scale your content efforts without coding.
Ready to start? Begin with a simple workflow for one blog post type, refine your prompts, and gradually expand to full automation. For more details, explore tutorials on platforms like Make.com or Uncanny Automator .
Have questions or tips of your own? Share them in the comments below!


