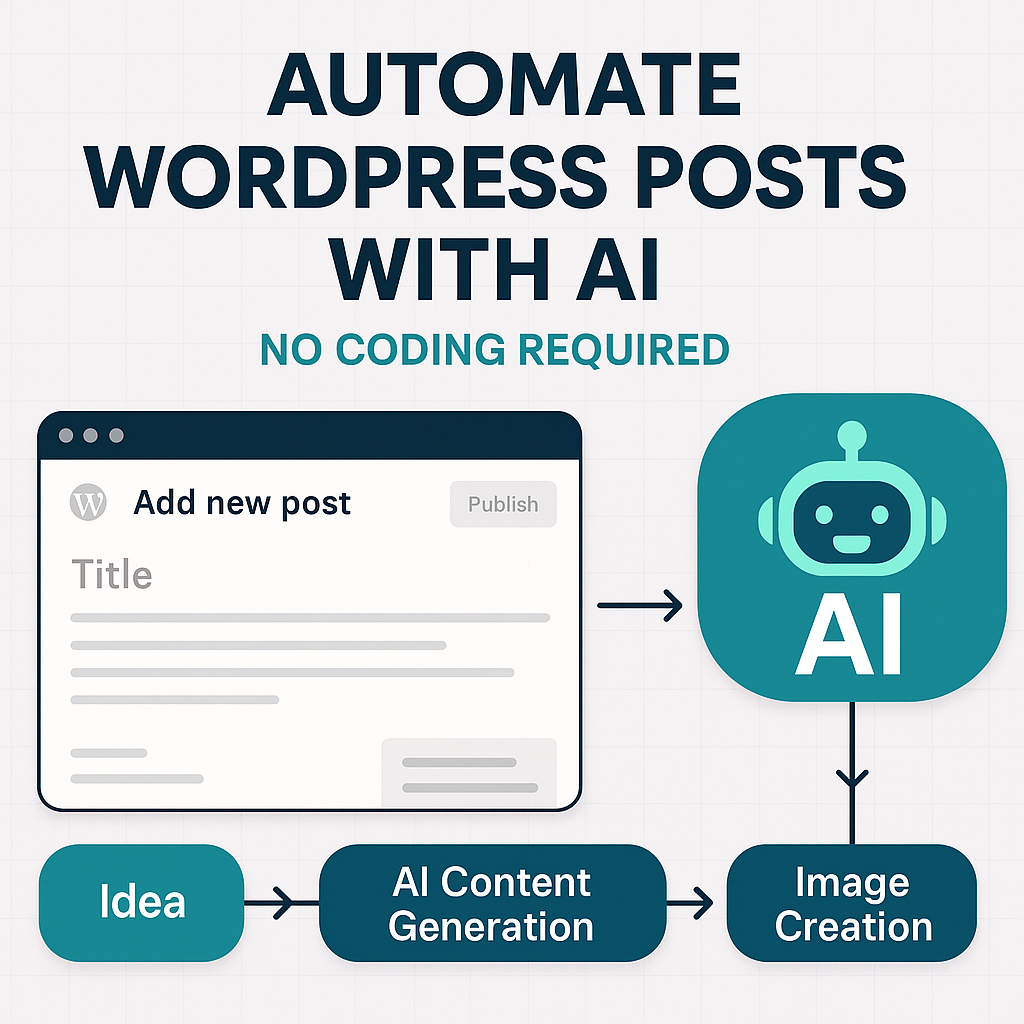
Introduction: Why You Should Automate WordPress Blog Posts with AI
Are you spending countless hours brainstorming, writing, and formatting blog posts for your WordPress site? You’re not alone. Content creation is one of the most time-consuming aspects of running a successful blog. But what if you could automate WordPress blog posts with AI to handle the heavy lifting? This isn’t about removing the human touch entirely—it’s about leveraging artificial intelligence to enhance your efficiency and consistency.
The good news is that with today’s sophisticated AI tools, learning how to automate WordPress blog posts is no longer a fantasy reserved for developers with deep coding knowledge. Powerful AI writing assistants and automation plugins have made it possible for anyone to set up a content creation pipeline that works almost autonomously. This comprehensive guide will show you exactly how to automate WordPress blog posts with AI in 10 straightforward steps, without writing a single line of code.
Table of Contents
The Transformative Benefits: Why Automate WordPress Blog Posts with AI?
Before we dive into the practical steps, let’s explore why you should automate WordPress blog posts with AI in the first place. Understanding the benefits will help you maximize your approach to content automation.
Key Advantages of Using AI to Automate WordPress Blog Posts:
- Massive Time Savings: When you automate WordPress blog posts with AI, you reduce content creation time from hours to minutes. The AI handles research, drafting, and basic formatting.
- Unwavering Consistency: A steady flow of content is crucial for SEO and audience retention. Automation helps you stick to a regular publishing schedule.
- Eliminate Writer’s Block: AI is an excellent tool for generating ideas, outlines, and first drafts, helping you push through creative slumps.
- Scale Content Production Efficiently: To compete in today’s digital landscape, you need volume and quality. AI allows you to scale your content efforts without proportionally increasing your team or budget.
- Focus on High-Value Tasks: By using AI to automate WordPress blog posts, you free up mental energy for strategic planning, in-depth analysis, and audience engagement.
Essential Tools: What You Need to Automate WordPress Blog Posts with AI
To successfully automate WordPress blog posts with AI, you’ll need two primary types of tools. Understanding their roles is crucial for setting up an effective automation system.
- An AI Writing Assistant: This is the engine that generates your content. Tools like Jasper, Copy.ai, Writesonic, and ChatGPT (via API) are excellent choices to help automate WordPress blog posts.
- A WordPress Automation Plugin: This creates the bridge between your AI tool and your website. Plugins like Uncanny Automator, AutomateWP, or Zapier handle the automatic creation and publishing of posts.
For this guide, we’ll demonstrate how to automate WordPress blog posts with AI using a combination of a popular AI tool and Uncanny Automator, a user-friendly WordPress automation plugin that requires no coding skills.
How to Automate WordPress Blog Posts with AI: Your 10-Step Blueprint
Step 1: Establish Your Content Foundation Before You Automate WordPress Blog Posts
Before you set up any automation, you need a solid content strategy. Automation without strategy leads to disjointed, low-quality content.
- Define Your Audience: Who are you writing for? What problems can you solve for them?
- Set Clear Objectives: What do you want to achieve when you automate WordPress blog posts with AI? More traffic, leads, or sales?
- Create Content Pillars: Identify 3-5 broad topics central to your blog that you’ll automate WordPress blog posts around.
- Develop a Content Calendar: Plan what you’ll publish and when. This calendar will drive your automation triggers.
Pro Tip: Document your brand voice, tone, and style guidelines to ensure the AI generates content that aligns with your brand when you automate WordPress blog posts.
Step 2: Select the Right AI Tool to Automate WordPress Blog Posts
Your choice of AI writing assistant will significantly impact how effectively you can automate WordPress blog posts. Consider these popular options:
- Jasper: Excellent for long-form content with strong brand voice customization.
- Copy.ai: User-friendly with a generous free plan, perfect for beginners.
- OpenAI’s ChatGPT API: Highly flexible and powerful for those wanting maximum control.
For this guide on how to automate WordPress blog posts with AI, we’ll focus on API-based approaches for the most seamless automation.
Step 3: Install and Configure Your WordPress Automation Plugin
To automate WordPress blog posts with AI, you need the right connector plugin. We’ll use Uncanny Automator for this demonstration:
- Navigate to your WordPress Dashboard > Plugins > Add New.
- Search for “Uncanny Automator.”
- Click “Install Now” and then “Activate.”
Once activated, you’ll find a new “Automator” menu item. This is your control center to automate WordPress blog posts with AI.
Step 4: Generate API Credentials to Connect AI to WordPress
To automate WordPress blog posts with AI, you need to establish a secure connection between your AI tool and WordPress using an API key.
- For OpenAI: Log into your account, visit the API keys section, and create a new secret key. Save this key securely.
- For Other AI Tools: Check their documentation for API access and key generation.
Security Note: Your API key is like a password. Store it securely and never expose it in public code or forums.
Step 5: Create Your First Automation Recipe to Automate WordPress Blog Posts
In Uncanny Automator, workflows are called “Recipes.” Here’s how to set up your first recipe to automate WordPress blog posts with AI:
- Go to Automator > Add New.
- Name your recipe descriptively, like “Automate AI Blog Posts Weekly.”
- Select Logged-in users as the recipe type (you can advance to “Everyone” later).
- Click “Save” and continue building.
Step 6: Set the Trigger to Initiate Your AI Content Automation
The trigger determines when your automation runs. To reliably automate WordPress blog posts with AI, consider these trigger options:
- Click Add trigger in your recipe.
- For testing: Use A user logs in to the site (simple to test).
- For production: Use Scheduled: A date/time is reached for precise timing.
Choosing the right trigger is essential to effectively automate WordPress blog posts on your desired schedule.
Step 7: Configure the AI Integration to Generate Content Automatically
This is the core technical step where you connect to the AI API. To automate WordPress blog posts with AI, you’ll use webhooks or direct HTTP requests:
- Click Add action after your trigger.
- Select Send data to a webhook or HTTP Request (if available).
- Configure the endpoint URL, headers, and JSON body with your AI prompt.
Example API Configuration to Automate WordPress Blog Posts with AI:
Endpoint: https://api.openai.com/v1/chat/completions
Headers: Authorization: Bearer YOUR_API_KEY
Body: {"model": "gpt-4", "messages": [{"role": "user", "content": "Write a 500-word blog post about [your topic]"}]}
Step 8: Transform AI Response into Published WordPress Content
Once the AI returns content, you need to create an actual blog post. Here’s how to complete the process to automate WordPress blog posts with AI:
- Add a new action after your API call.
- Select Create a post.
- Map the AI response to post fields:
- Title: Use a token from the AI response or a static title.
- Content: Insert the token containing the AI-generated text.
- Status: Set to Draft initially for safety and review.
Step 9: Thoroughly Test Your AI Blog Automation System
Before going live, rigorously test your setup to automate WordPress blog posts with AI effectively:
- Save and activate your recipe.
- Trigger it manually (e.g., by logging in if using that trigger).
- Check for a new draft post in your WordPress admin.
- Review the content quality, formatting, and accuracy.
Troubleshooting Common Issues When You Automate WordPress Blog Posts with AI:
- API key errors: Verify your key is correct and has sufficient credits.
- JSON formatting issues: Use a validator to check your request structure.
- Token mapping problems: Ensure you’re using the correct tokens from previous actions.
Step 10: Refine and Optimize Your Automated AI Content Workflow
The initial setup is just the beginning. To truly excel at how to automate WordPress blog posts with AI, you need ongoing optimization:
- Review and Edit Every Draft: AI is an assistant, not a replacement. Always add your unique perspective and expertise.
- Optimize for SEO: Add focus keywords, meta descriptions, and internal links to maximize search visibility.
- Improve Your AI Prompts: The quality of output depends heavily on input quality. Continuously refine your prompts.
- Add Media and Personal Touches: Insert relevant images, personal anecdotes, and specific data points.
Advanced Strategies: Going Beyond Basic AI Blog Automation
Once you’ve mastered the fundamentals of how to automate WordPress blog posts with AI, consider these advanced techniques:
- Multi-Topic Automation: Create different recipes for different content categories or formats.
- AI-Powered Content Repurposing: Automate turning blog posts into social media snippets, email newsletters, or video scripts.
- Scheduled Bulk Publishing: Use advanced triggers to generate and schedule multiple posts in advance.
- Dynamic Prompt Generation: Create smarter prompts that adapt based on current trends or user interests.
Conclusion: Master Content Automation—Automate WordPress Blog Posts with AI Today
Learning how to automate WordPress blog posts with AI represents a fundamental shift in how we approach content creation. By implementing the 10-step framework outlined in this guide, you can establish a system that consistently generates quality content while freeing up your time for higher-value activities.
Remember that the goal isn’t to create a fully autonomous blog that runs without human oversight. The true power comes from combining AI efficiency with human creativity and expertise. When you automate WordPress blog posts with AI, you’re not replacing yourself—you’re augmenting your capabilities.
Start small with one automated post type, refine your process, and gradually expand your automation efforts. The time you save by learning to automate WordPress blog posts with AI can be redirected to strategy, promotion, and deeper audience engagement—activities that ultimately drive real business results.